Secure your username for the future of the web.

For illustrative purposes only
As we begin to see more mainstream use cases of blockchain technology in payments, gaming, art, and even social media, it’s becoming really important to further simplify the user experience of crypto in general — starting with addresses.
Addresses are a huge part of how we interface with the blockchain because they’re essentially how transactions are received and sent out. However, they are in the form of a long combination of letters and numbers. For instance, an Ethereum address looks like this: ‘0x6405A46E53680Eae9cC68228ec3a459c3CEDD972’.
As such, it’s really easy to make costly mistakes like sending money to the wrong address. This also affects the user experience of decentralized apps since oftentimes they have to identify you by this non-memorable string.
There are no other aspects of digital technology where everyday people are expected to use anything like this on a regular basis. Imagine if we didn’t have usernames on Twitter, and every time you wanted to tag your friend on a funny post, you had to go copy their Twitter user ID first. Or every time you wanted to visit a website, you had to find and type in the IP address. For the most part, we’ve developed ways to map memorable names to complicated IDs like this. It generally makes for a better user experience, reduces the propensity for error and makes it easier to build communities around an identity.
This is why the Ethereum Name Service (ENS) is a really important project that I’m excited about. ENS is a service that enables you to map a human-readable name (ENS name) to your wallet address on the Ethereum blockchain. It makes the concept of identities on the blockchain a lot more accessible and user friendly, as other people (and dApps) can now identify you with a memorable name.
You can pay for an ENS name on the ENS App or buy it on the secondary market if someone else has claimed a name that you want. ENS names are essentially Non-Fungible Tokens (NFTs), so you can trade them on marketplaces like OpenSea. This is similar to having to bid for your preferred domain name on GoDaddy.
When you get an ENS name, you can:
- Receive any cryptocurrency, token, or blockchain-based item (like NFTs) with it. E.g. You can share ‘teju.eth’ instead of a long address to receive crypto.
- Point your ENS name to your website. With browsers that offer native support for ENS such as Brave and Opera, you can simply type your ENS name to visit the site directly. For non-web3 browsers like Chrome, you can add a “.link” suffix to open the website. E.g ‘teju.eth.link’.
- Set your reverse record and have decentralized apps display your ENS name in place of your wallet address.
- Add profile information like an avatar, email address, or Twitter handle. These will also be visible on the blockchain.
Now that you have that information, here’s a step-by-step guide to registering your ENS name and setting the reverse record for it.
You’ll need:
- A non-custodial Ethereum Wallet. In the example below, I use Rainbow’s mobile wallet.
- Ether: You’ll need this to pay for the registration and cover the transaction fees. The renewal fee is currently set at $5/year for names that are 5 characters or longer, $160/year for names 4 characters in length, and $640/year for names 3 characters in length. Remember to check what the gas fees currently are before starting the process.
- You’ll need to have the Ether in your non-custodial wallet. So, if you have it on an exchange, send it to a wallet that you own first. Here are guides to sending cryptocurrency from Buycoins and Coinbase.
Step 1
Go to app.ens.domains →
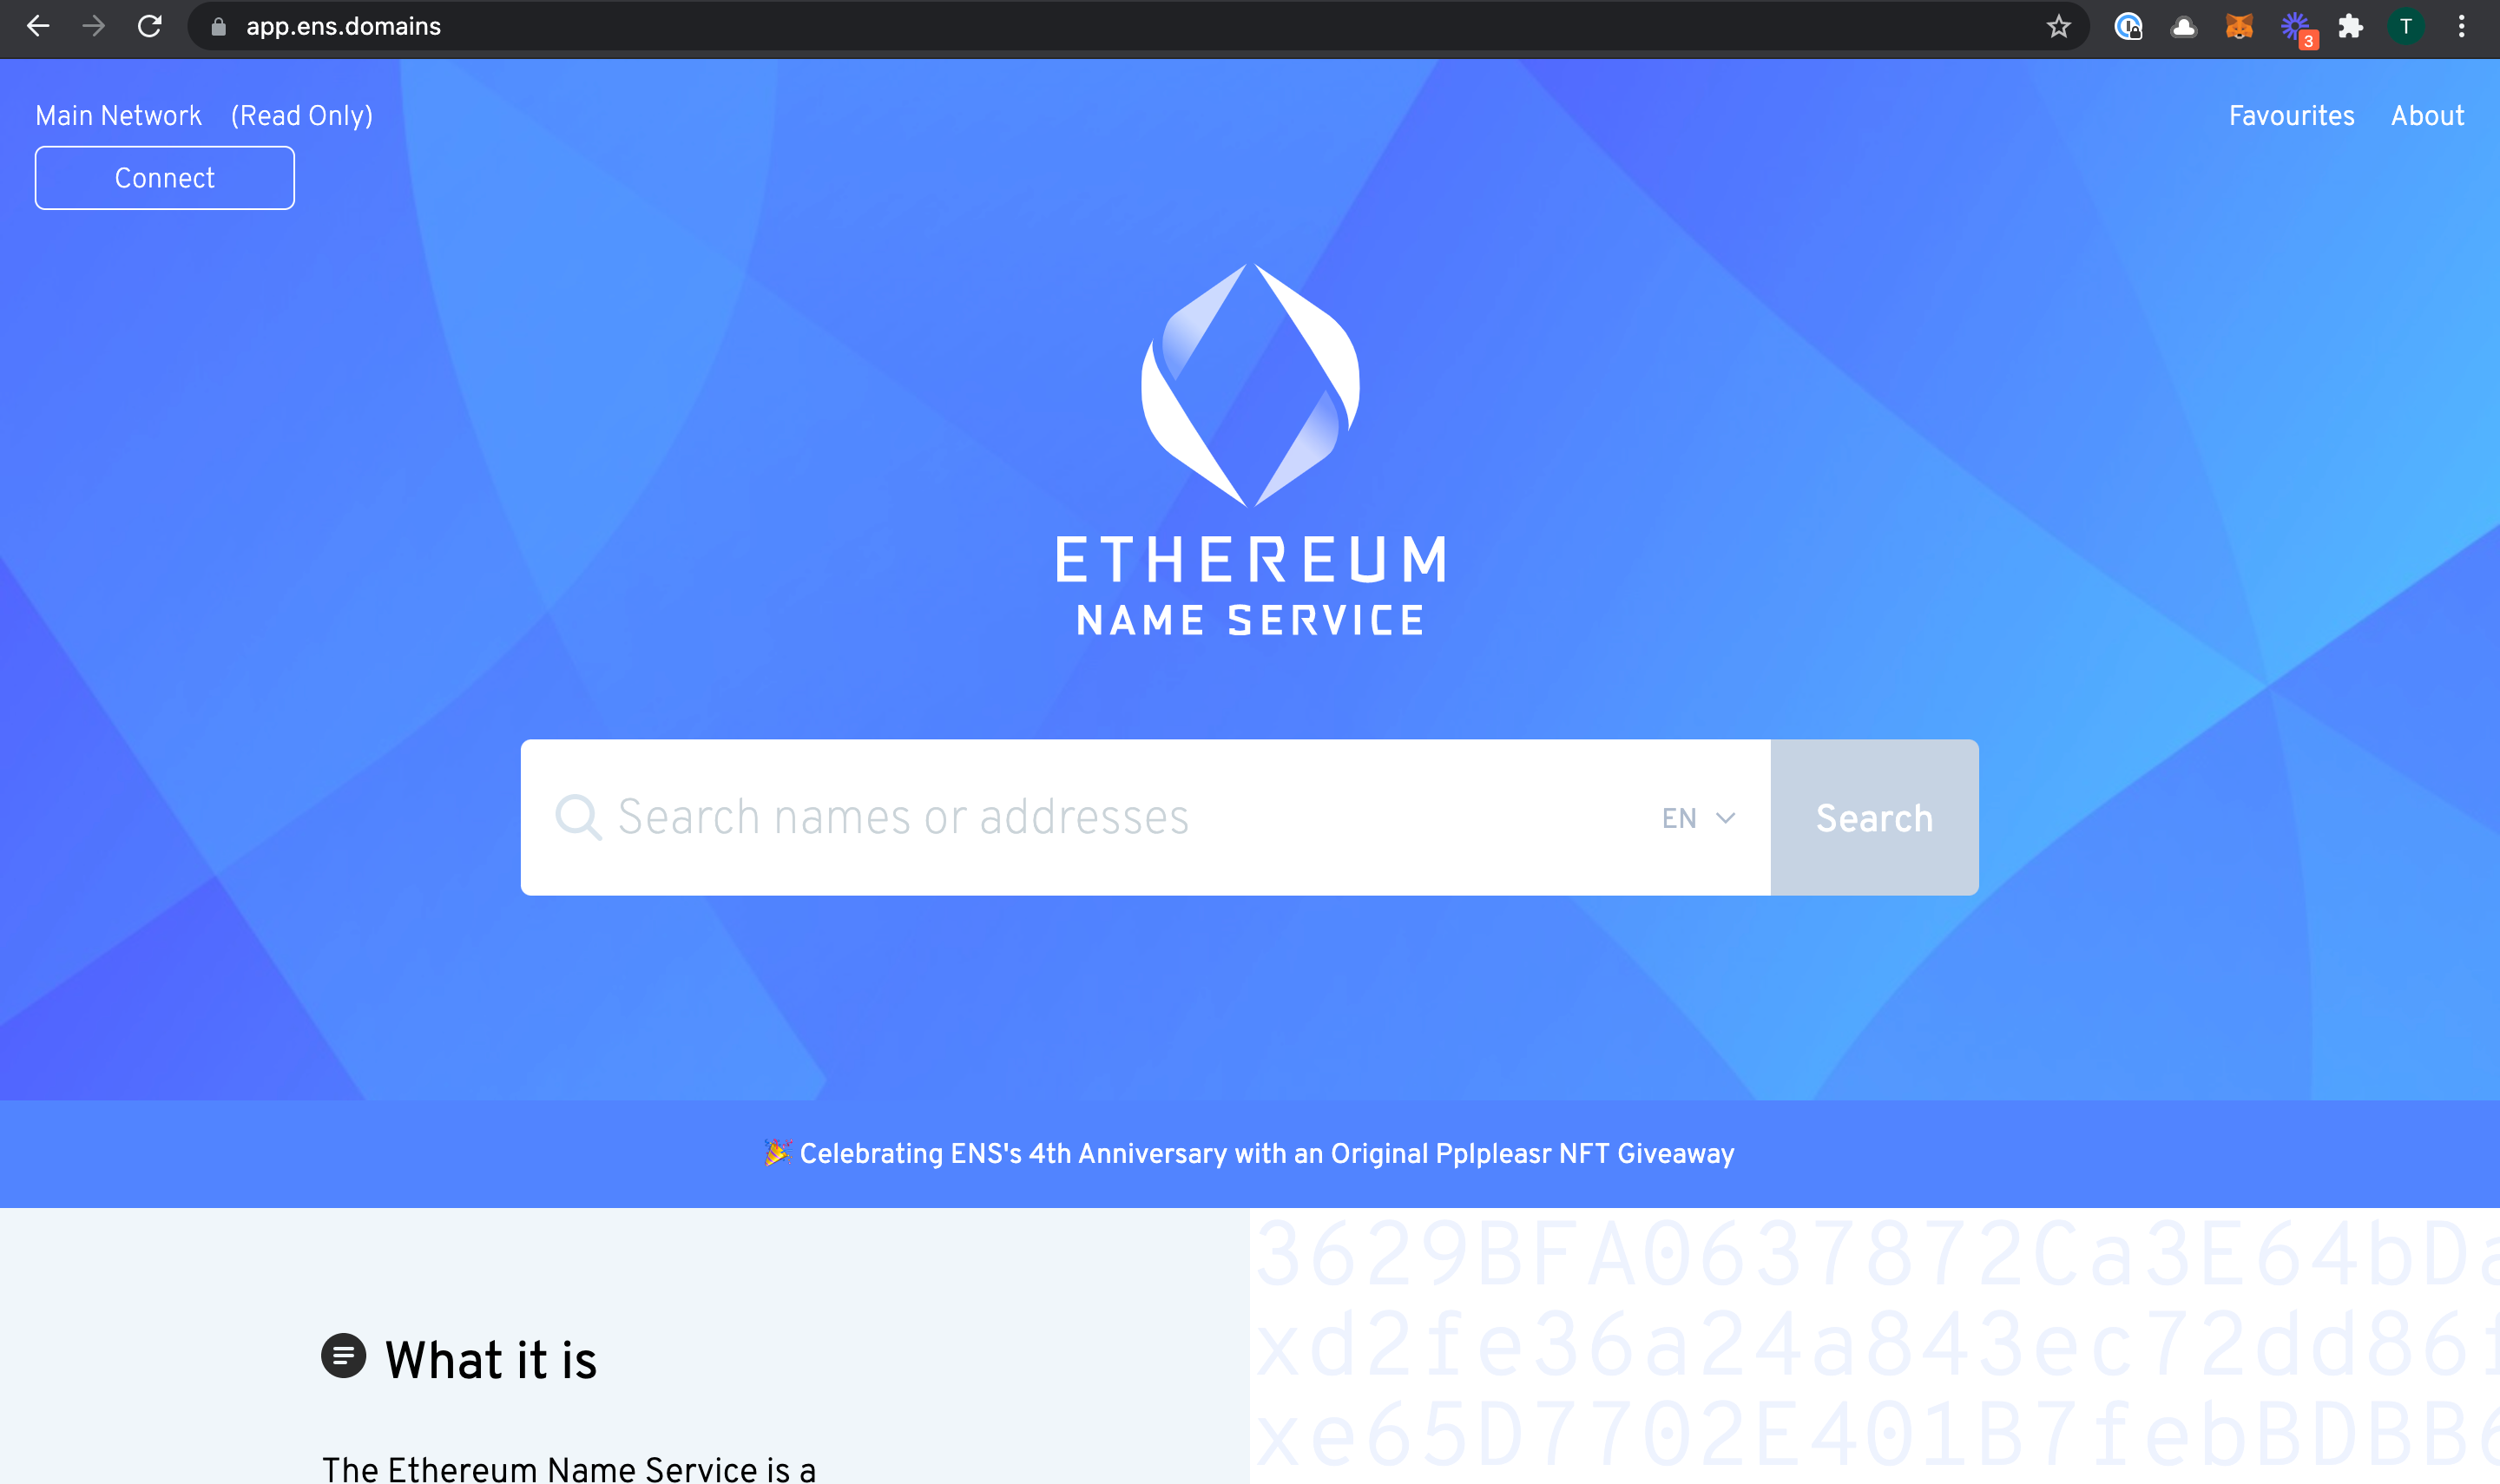
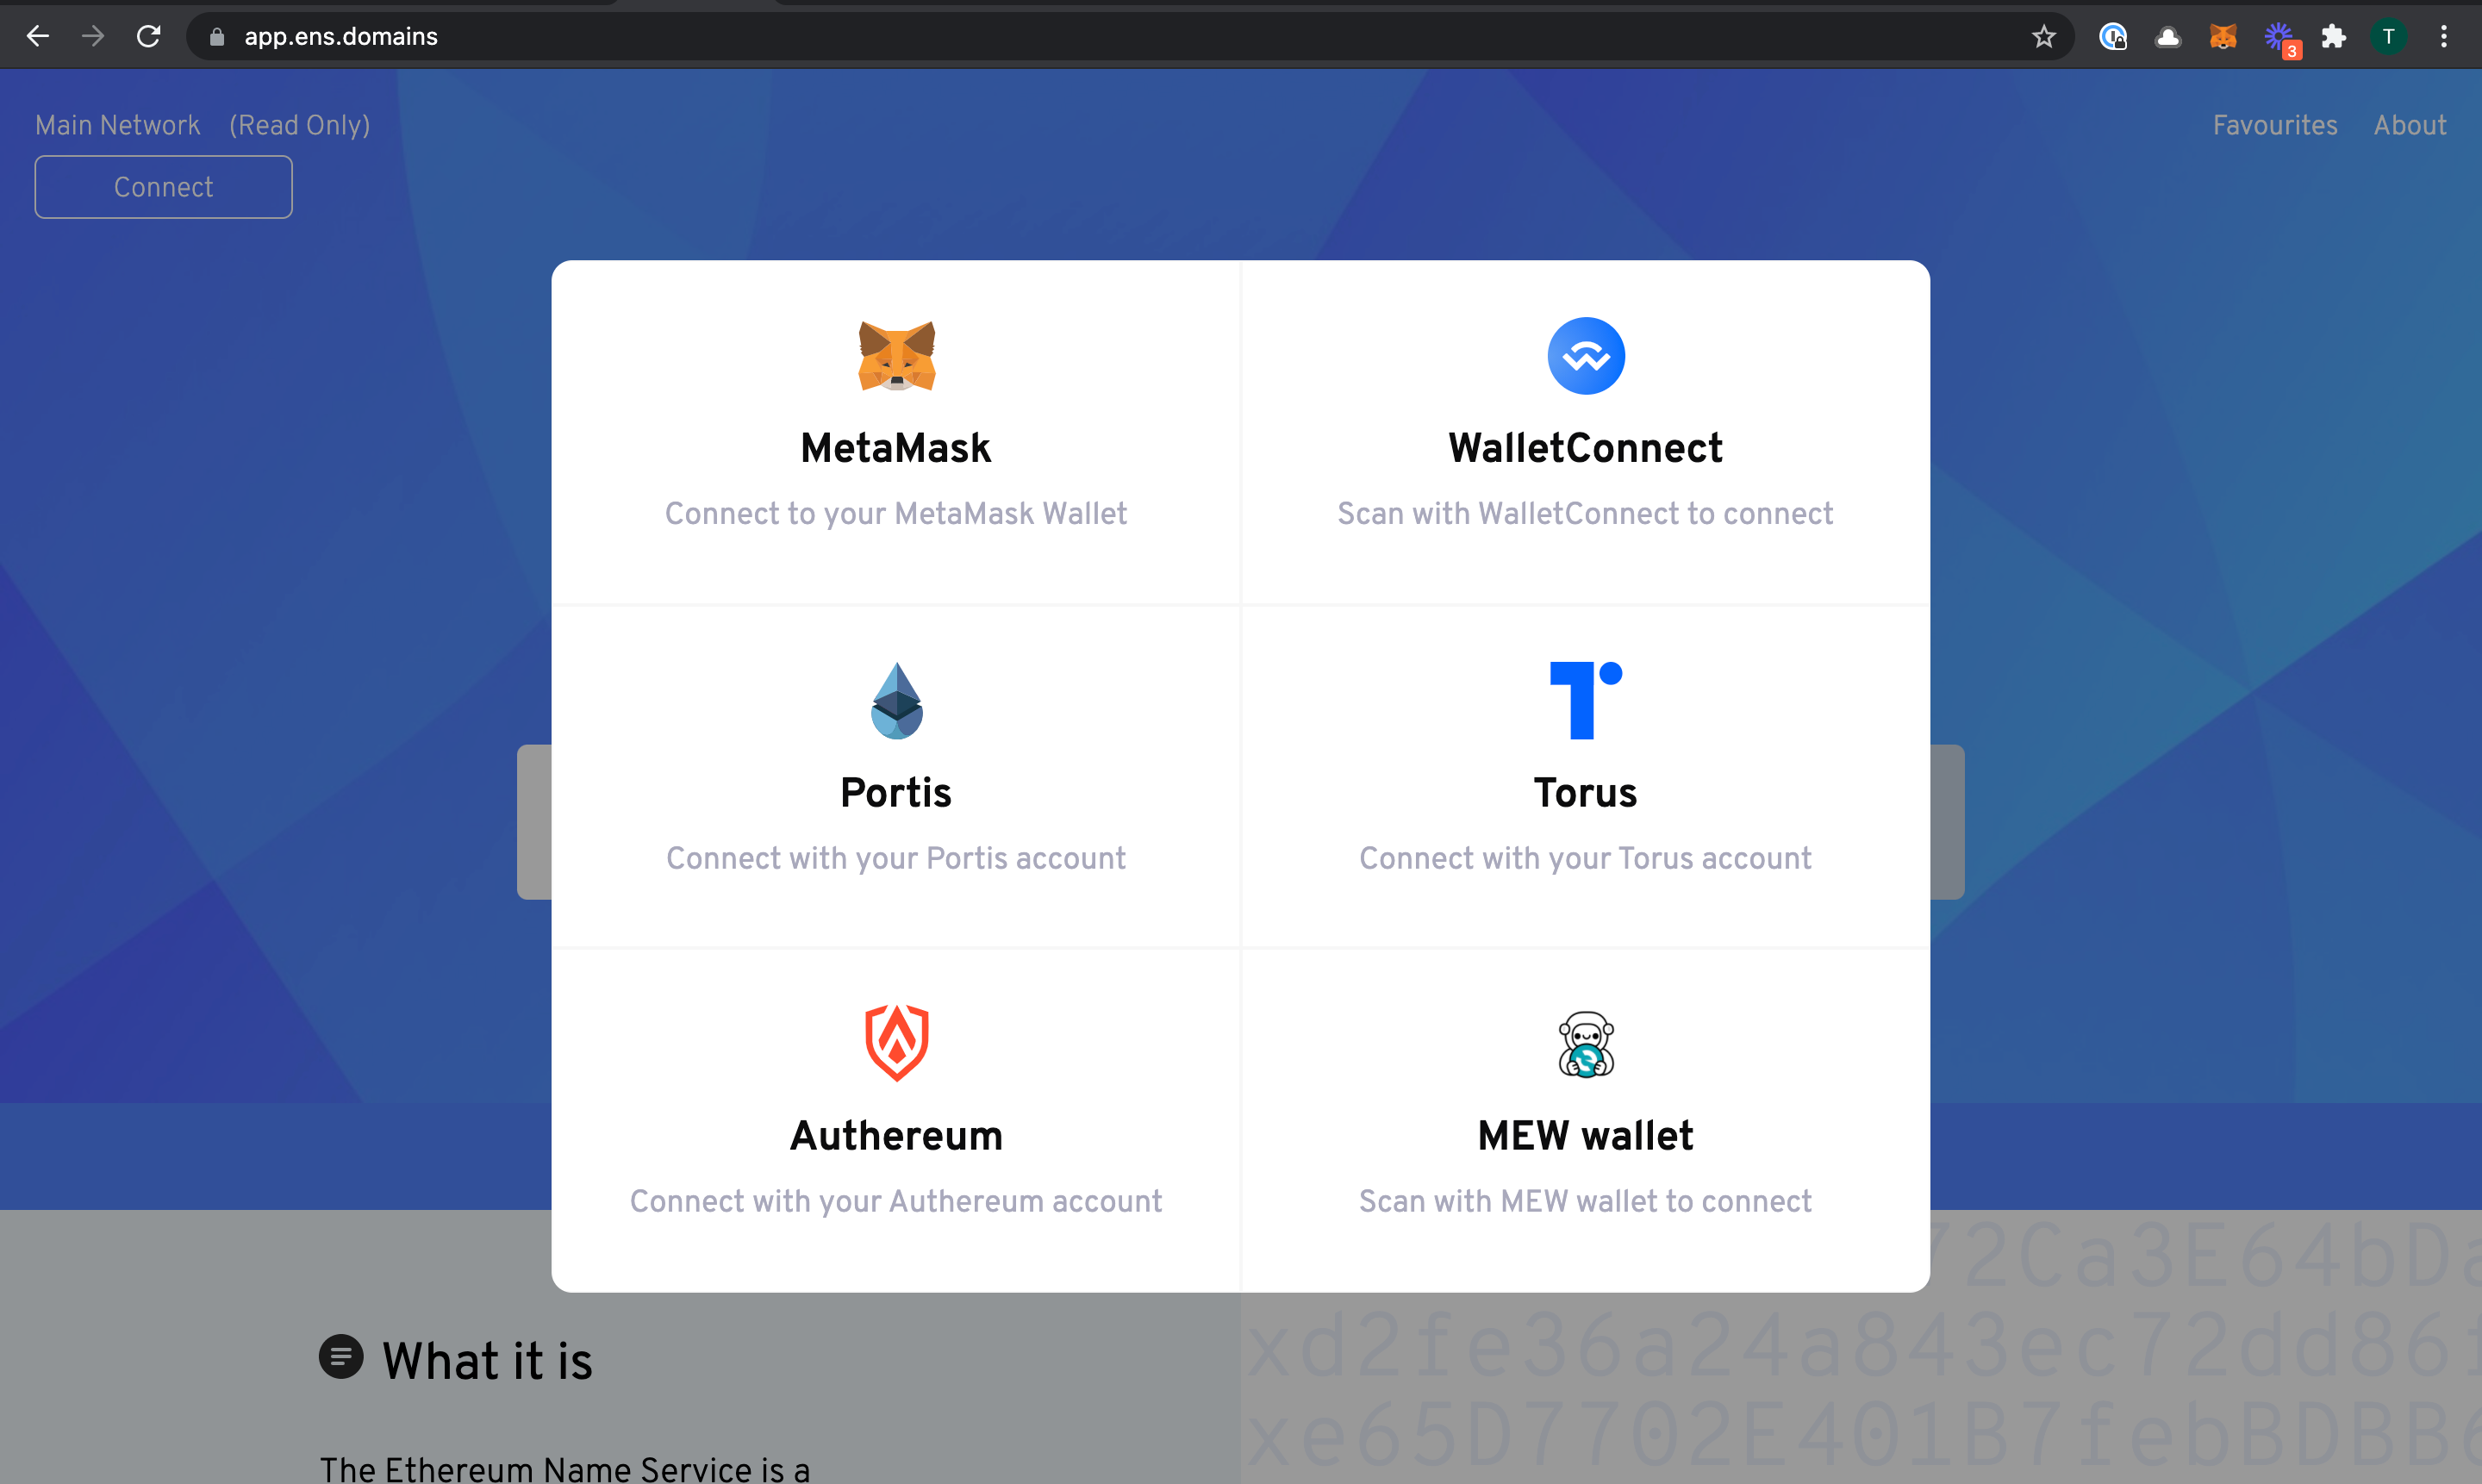
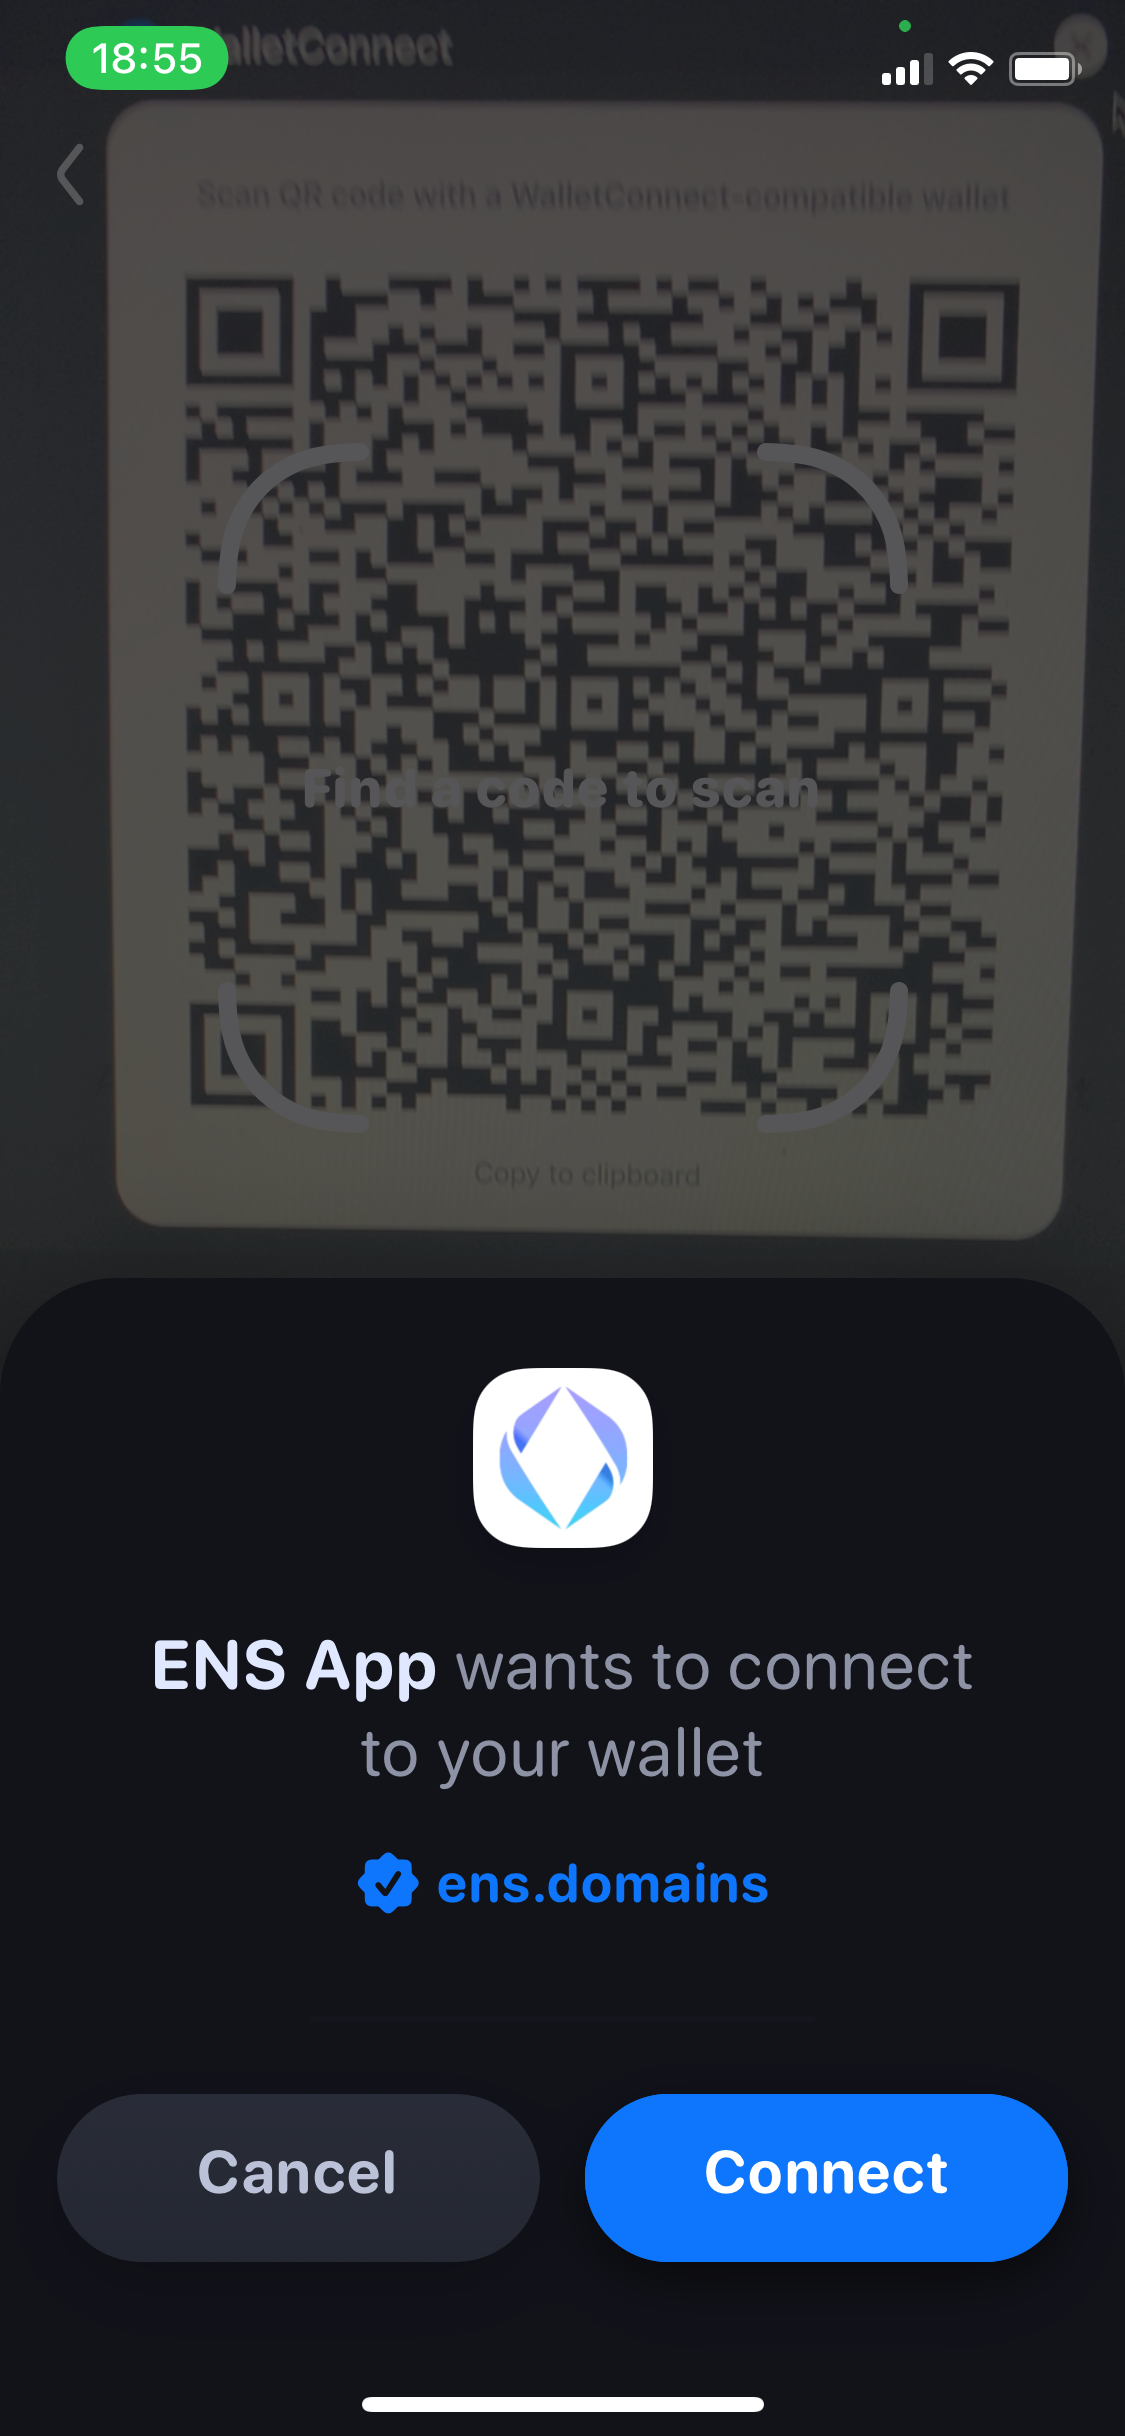
Click on the “Connect” button on the top left and select your preferred wallet. If yours isn’t listed, click on WalletConnect to check if it is supported.
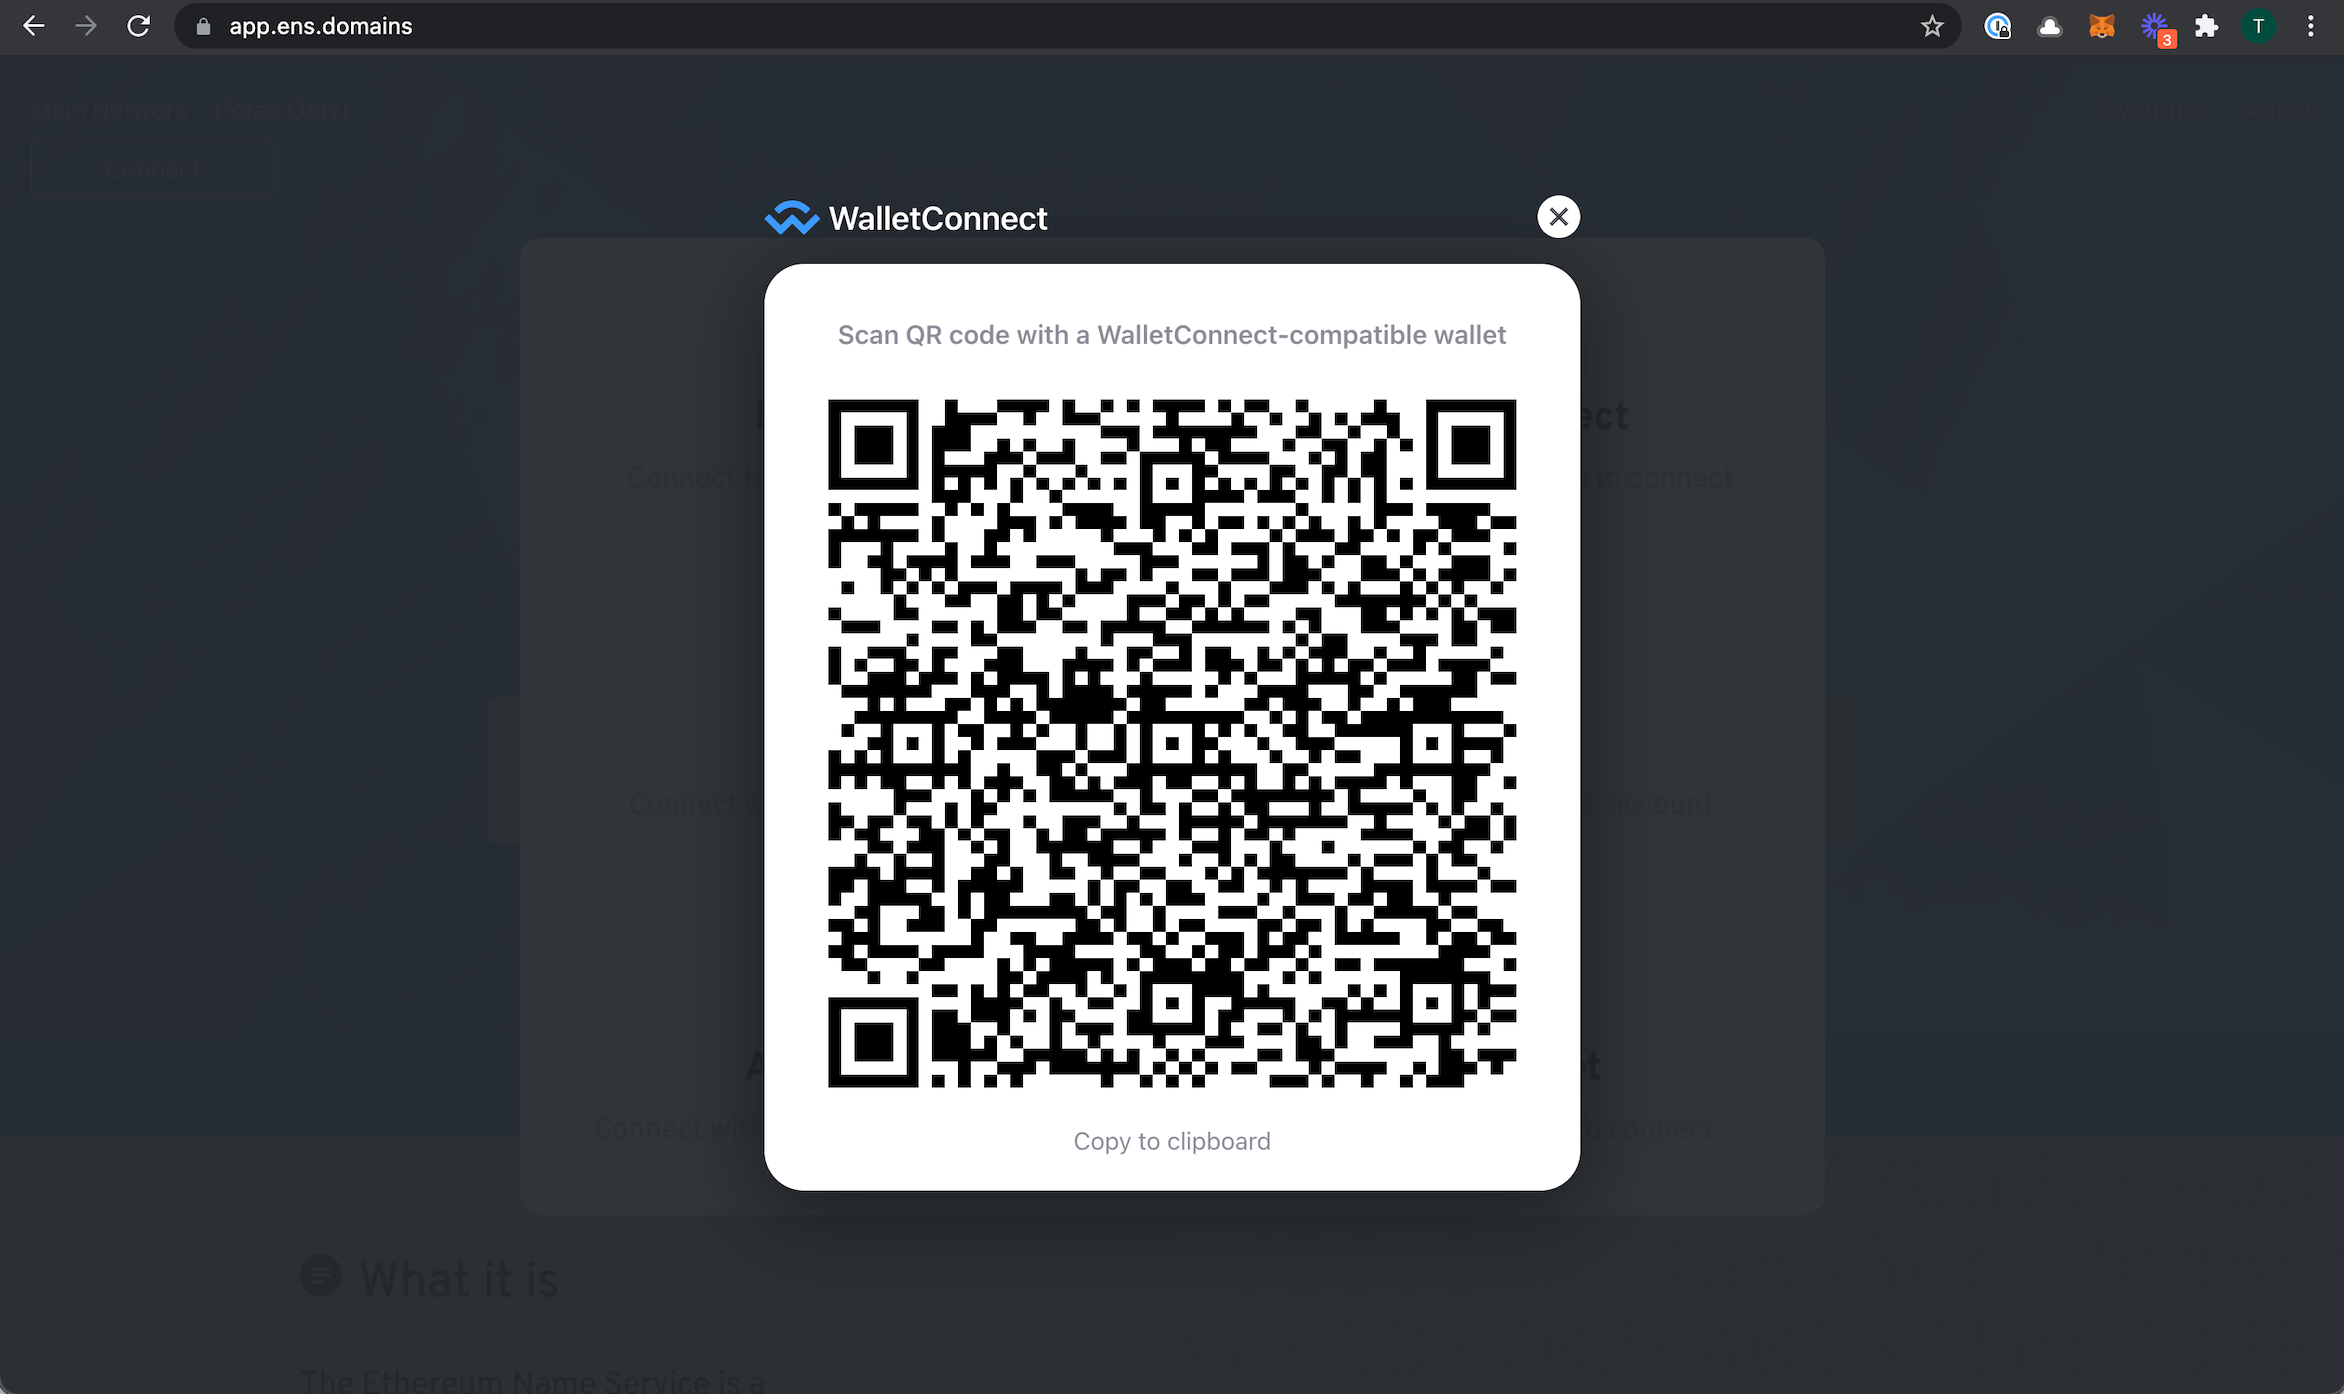
When you select WalletConnect, you’ll get a QR code to scan. If you’re using Rainbow, navigate to the ‘Discover’ page and click the QR icon to scan the code. Once it scans successfully, you’ll get a prompt to connect the ENS App to your wallet.
Step 2
You’re in!
Type in the name you’re trying to buy to see if it’s still available. You may select a period (in years) to register it for.
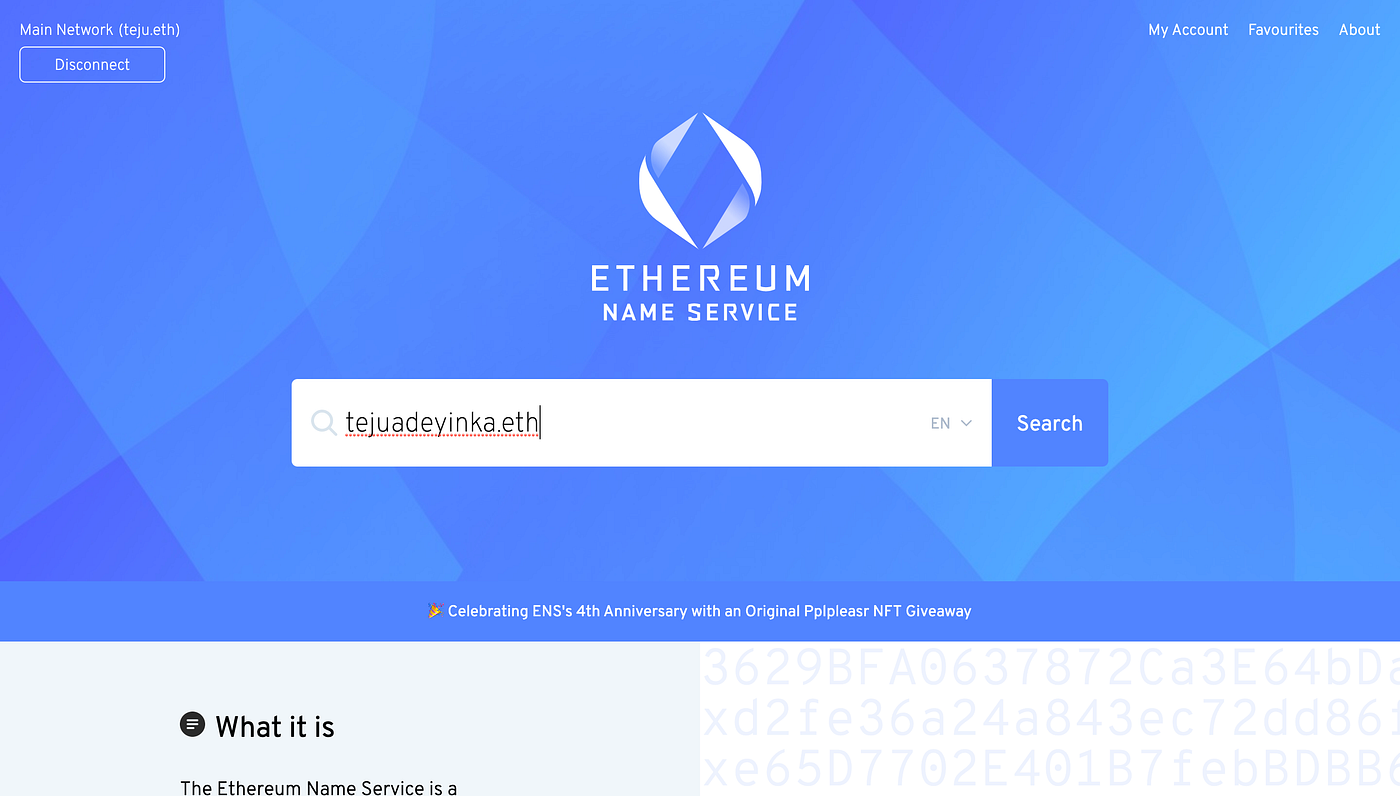
Search to see if your name is available
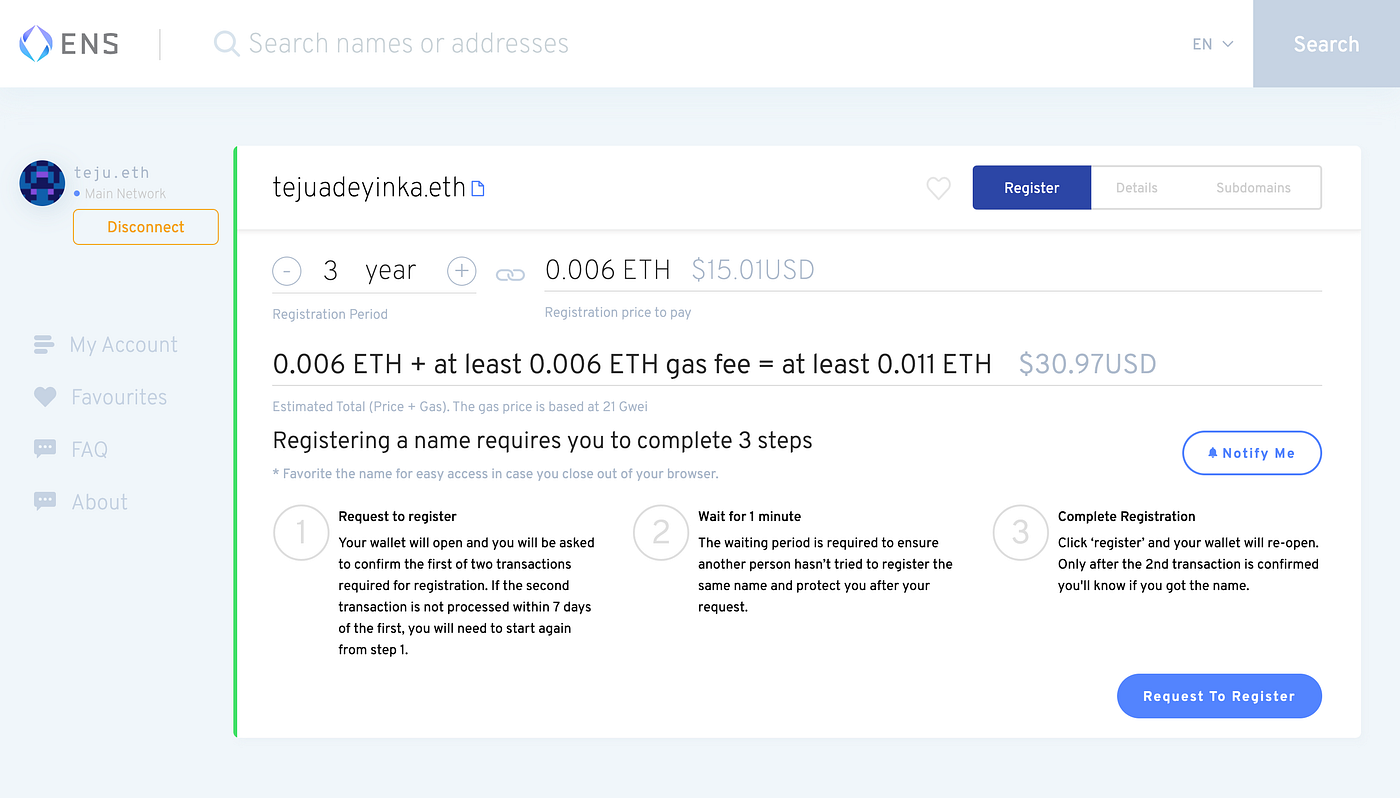
Once you do this, you’ll see an estimate of what it costs including the current gas fee.
In this case, I got a total dollar estimate of $30.97 to pay for a name above 5 characters for three years, but I ended up paying about $25 in total.
Step 3
You’ll be required to sign two transactions — one to request to register, and the other to actually register.
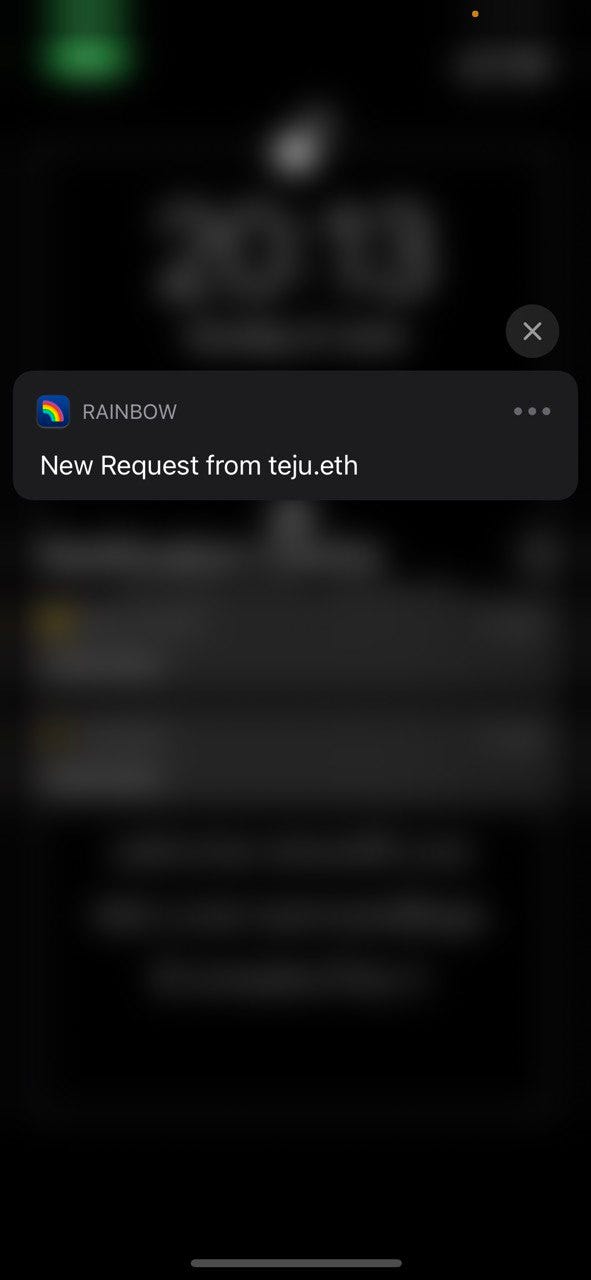
Click on the “request to register” button, you’ll get a push notification from Rainbow (or your wallet) to confirm this transaction.
Here, you’ll notice a small network fee. In my case, it was $1.39. You can adjust the amount to pay depending on how quickly you want the transaction to get fulfilled, the wallet app will usually suggest an estimate that you can go with. Rainbow and most other wallets allow you to select amounts for a “slow🐌, normal⏱ or fast🚀” transaction. The more money you’re willing to spend, the faster your transaction will be.
Once you approve the transaction, it will be submitted on the blockchain, and you’ll wait for it to be confirmed.
On Rainbow, even after you have submitted the transaction, you can click on it to speed it up (by paying more gas), cancel the transaction or view it on Etherscan (a tool that lets you see your transactions on the blockchain).
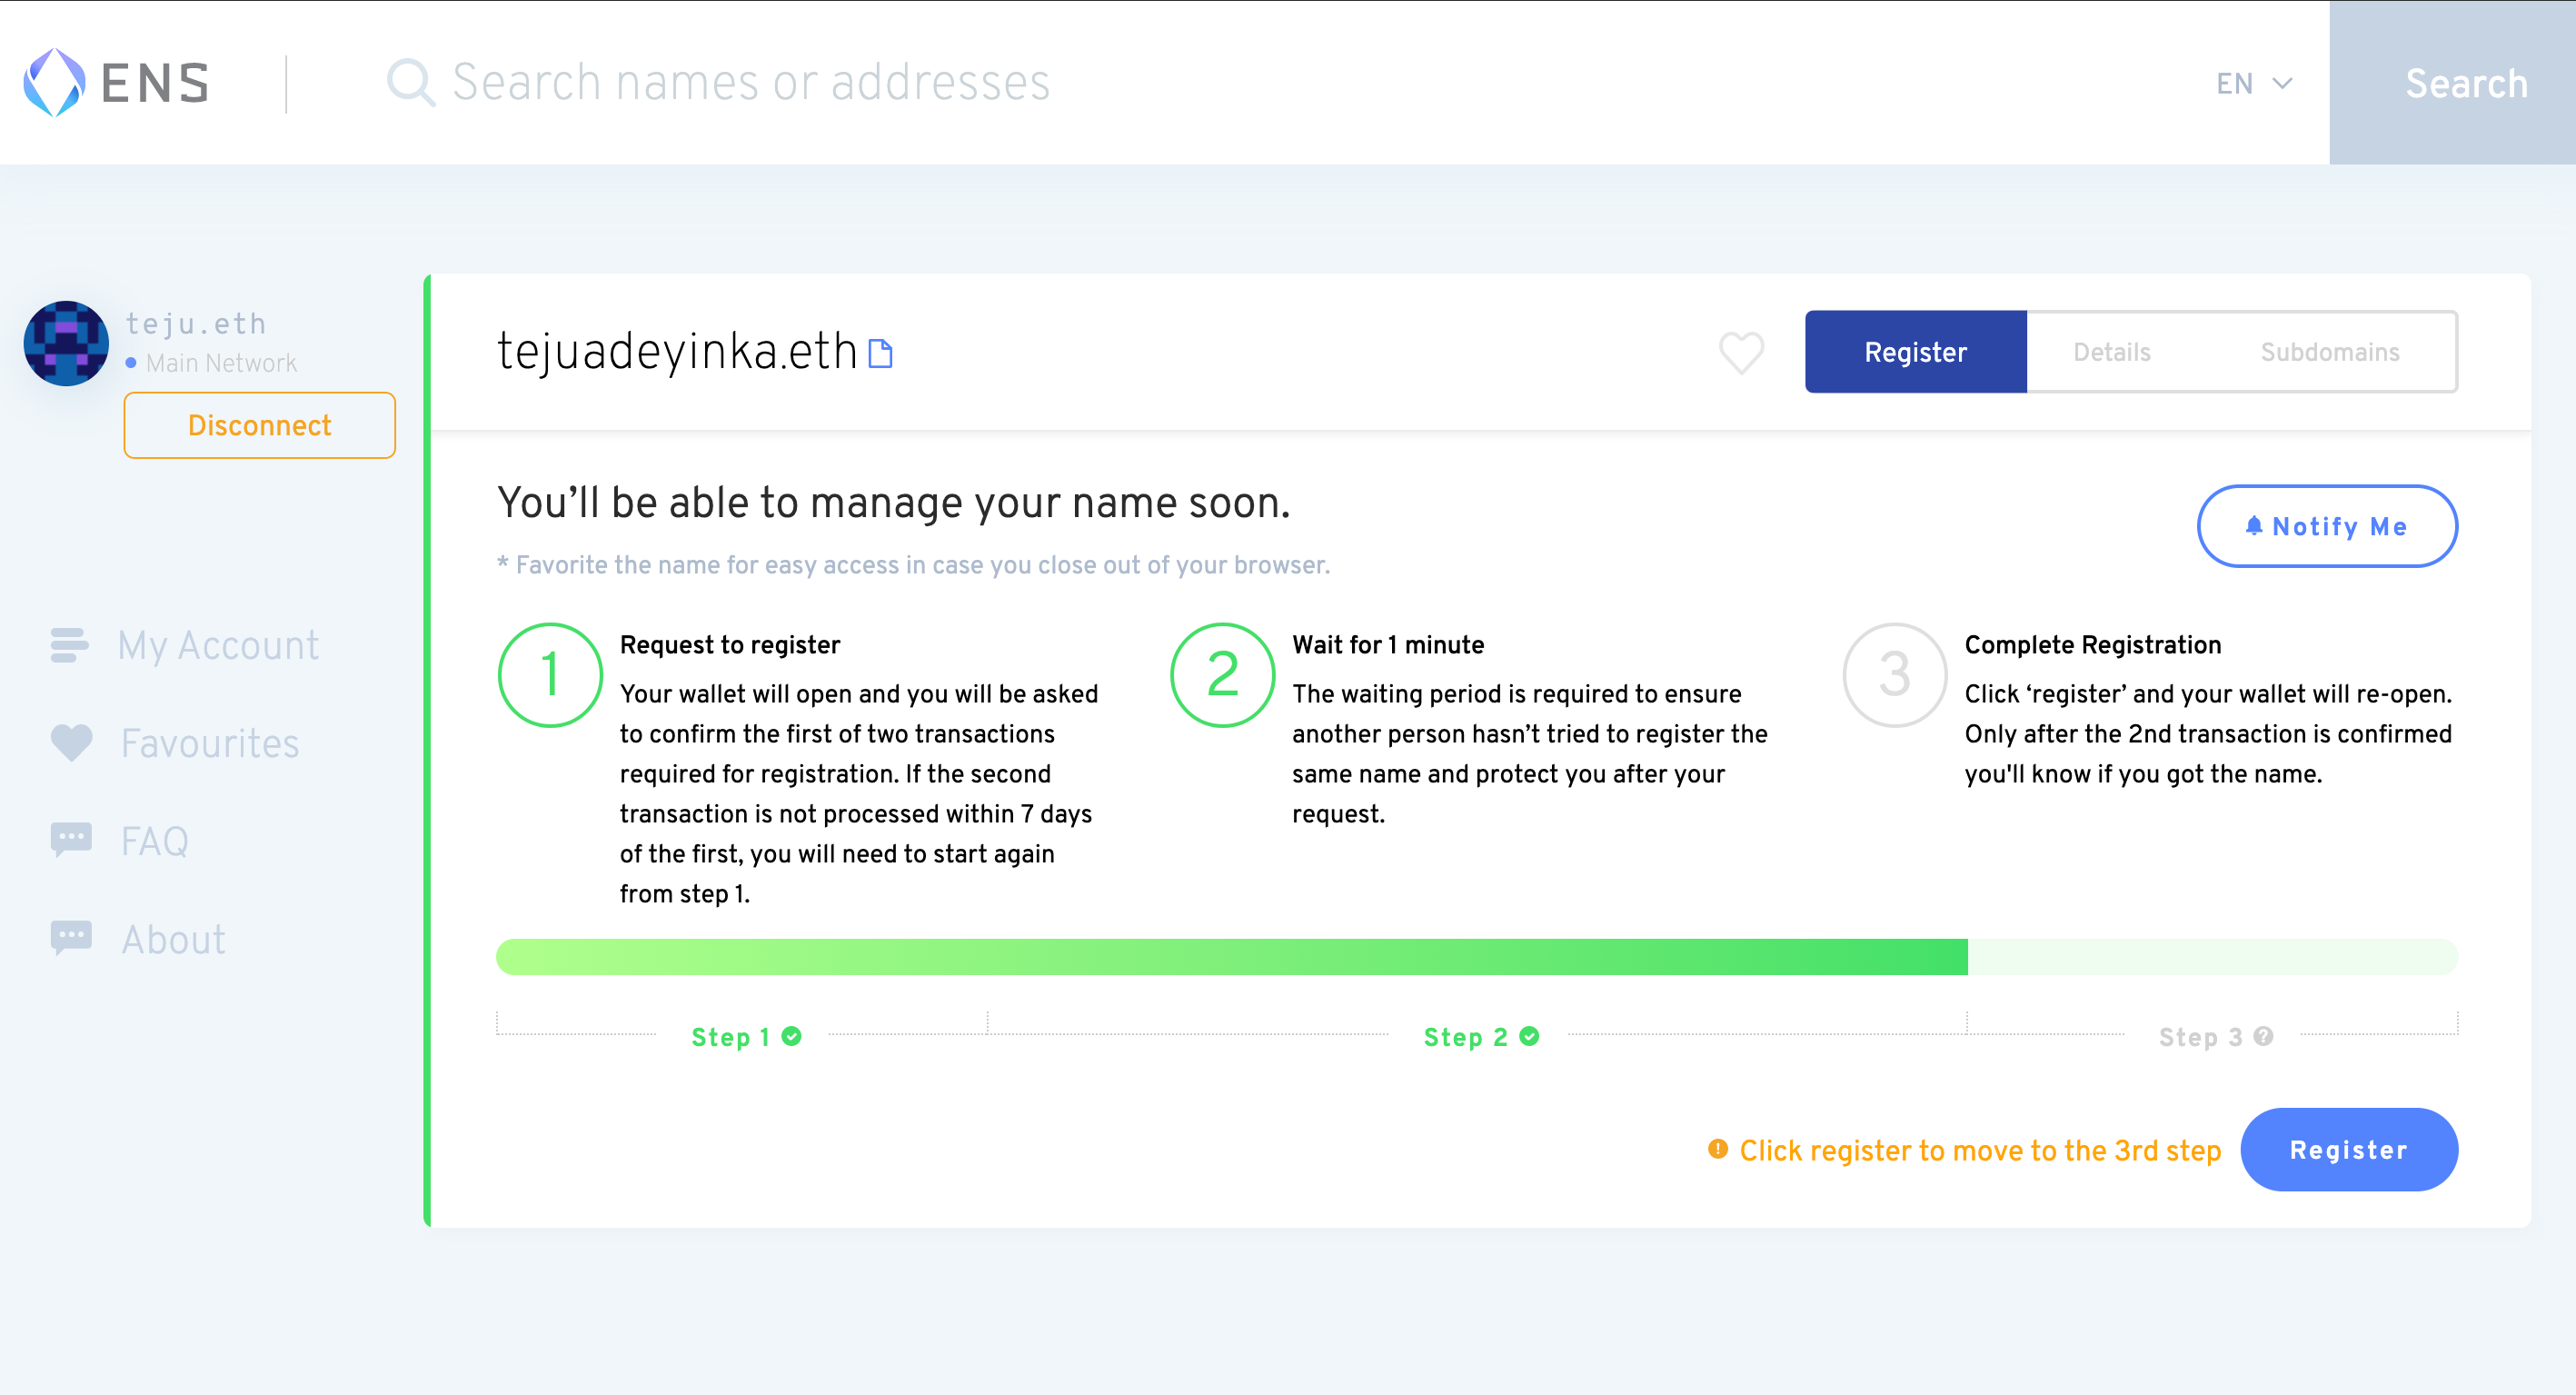
Step 4
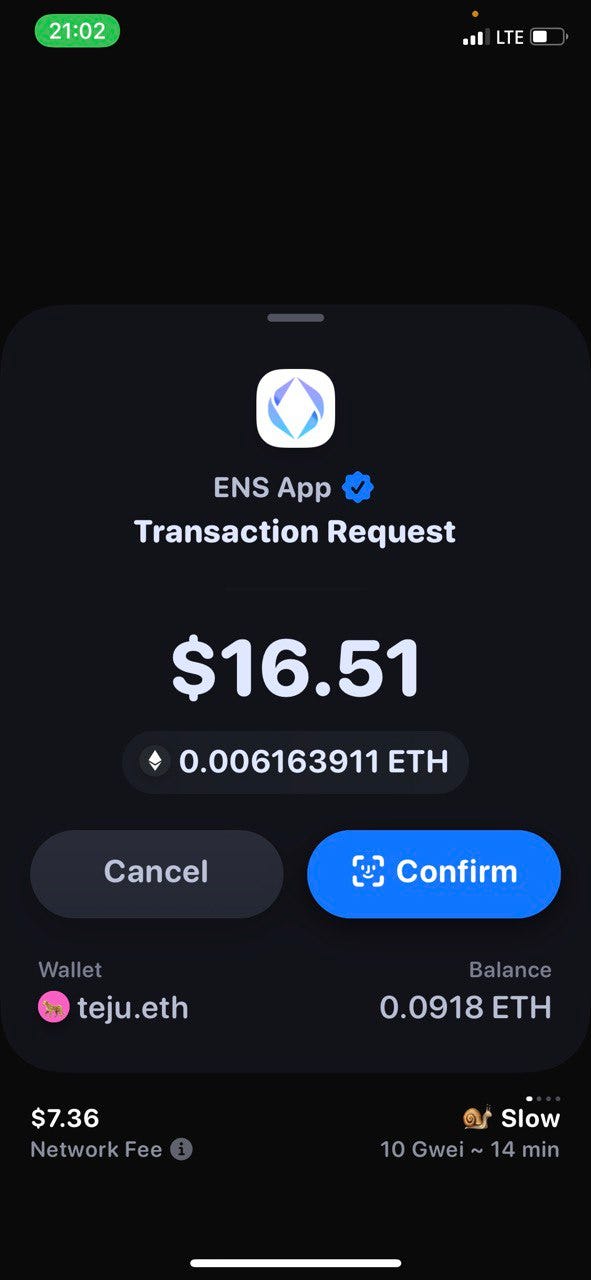
Once your transaction has been confirmed on the blockchain, you’ll be required to wait for one minute to ensure that someone else hasn’t tried to register that name within the same period. If this checks out, you’ll be able to initiate the second transaction by clicking “Register”.

You’ll get another notification from your wallet to sign the transaction. This time, you’ll see the cost of the ENS name ($16.51 for three years in this case), as well as the network fee.

Once this transaction is confirmed, you now own the ENS name and will be able to see it as a collectible in your wallet.
Step 5
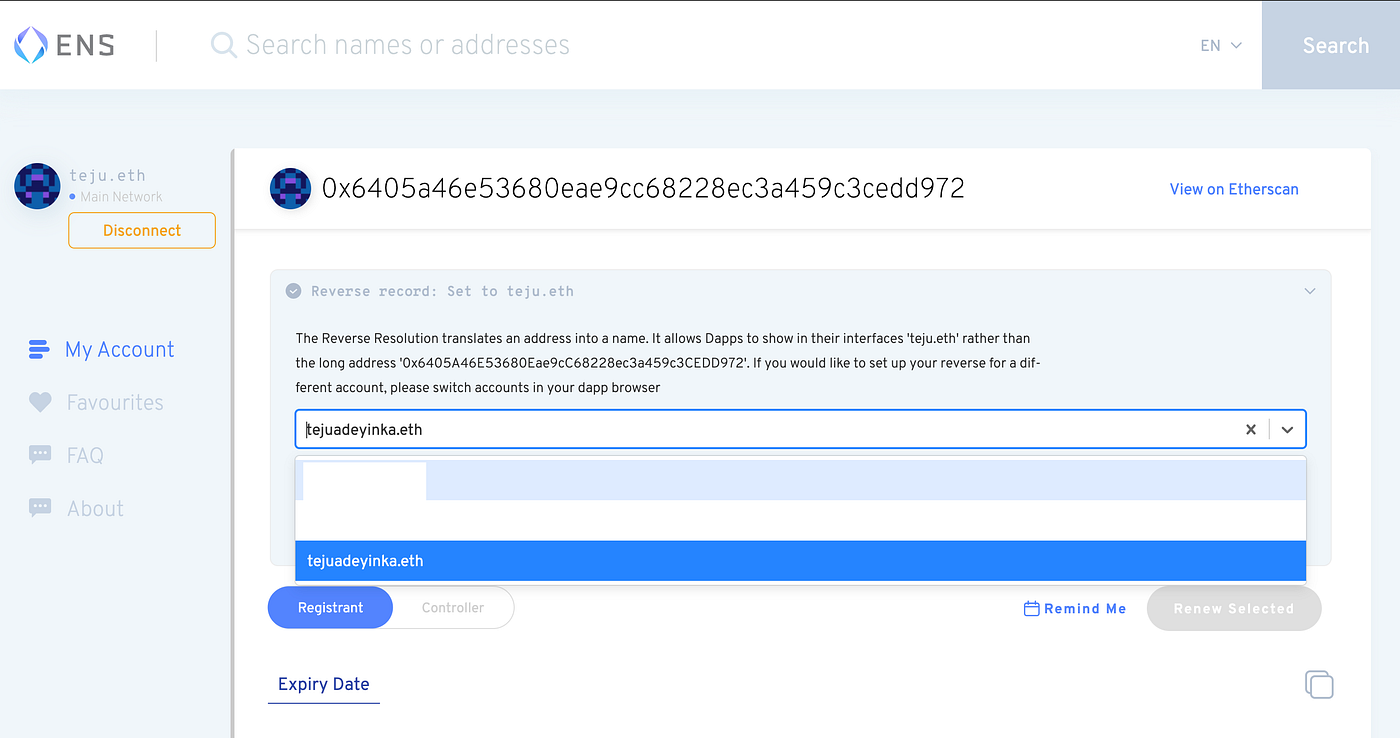
One last thing — set the reverse record. This is what will allow decentralized apps to recognize and display your address as your ENS name.
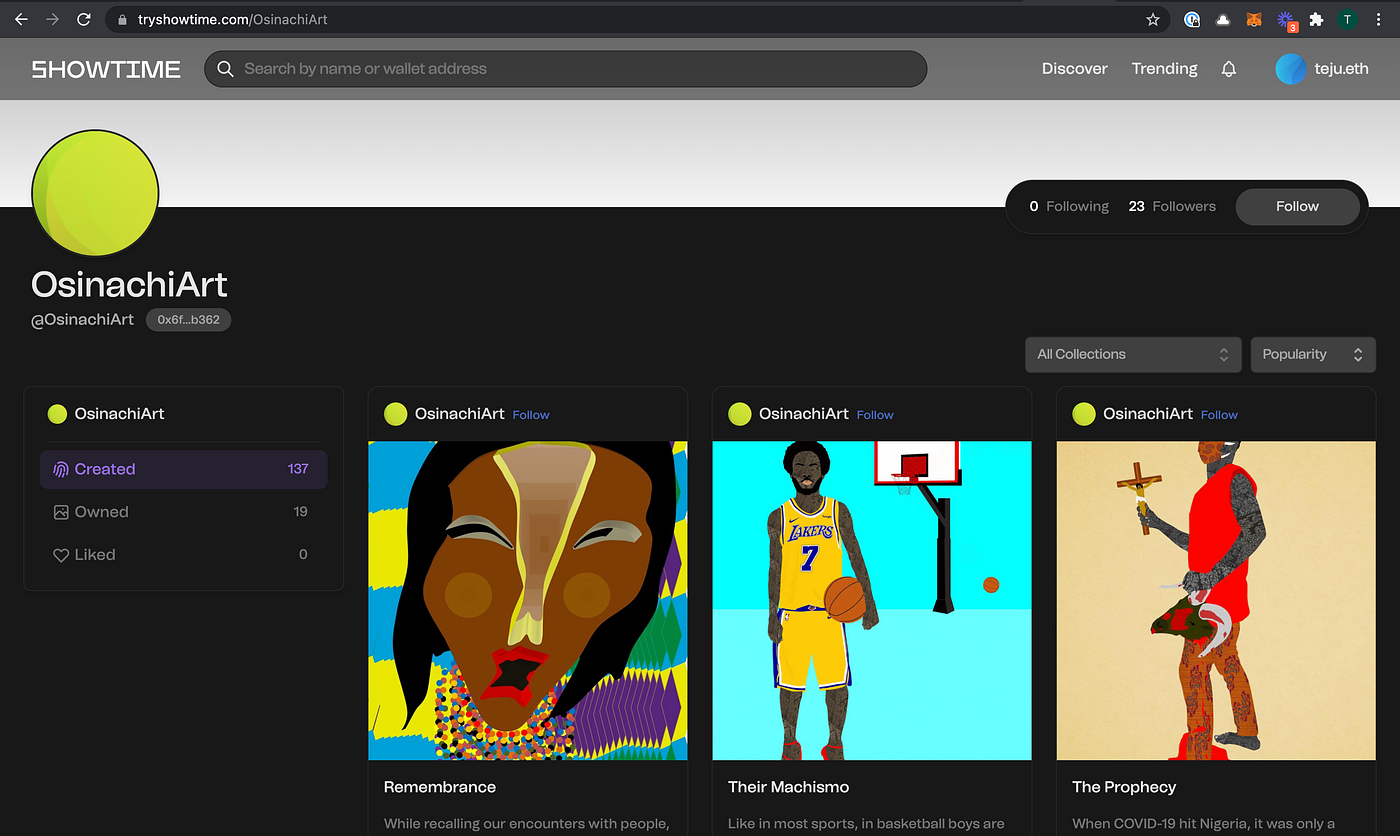
After setting the reverse record, dApps like Showtime will display your ENS name instead of your address
To do this, click “My Account” on the bar to the left, and select the ENS name that you want to set your address to. In your case, it’s probably the one you just bought.
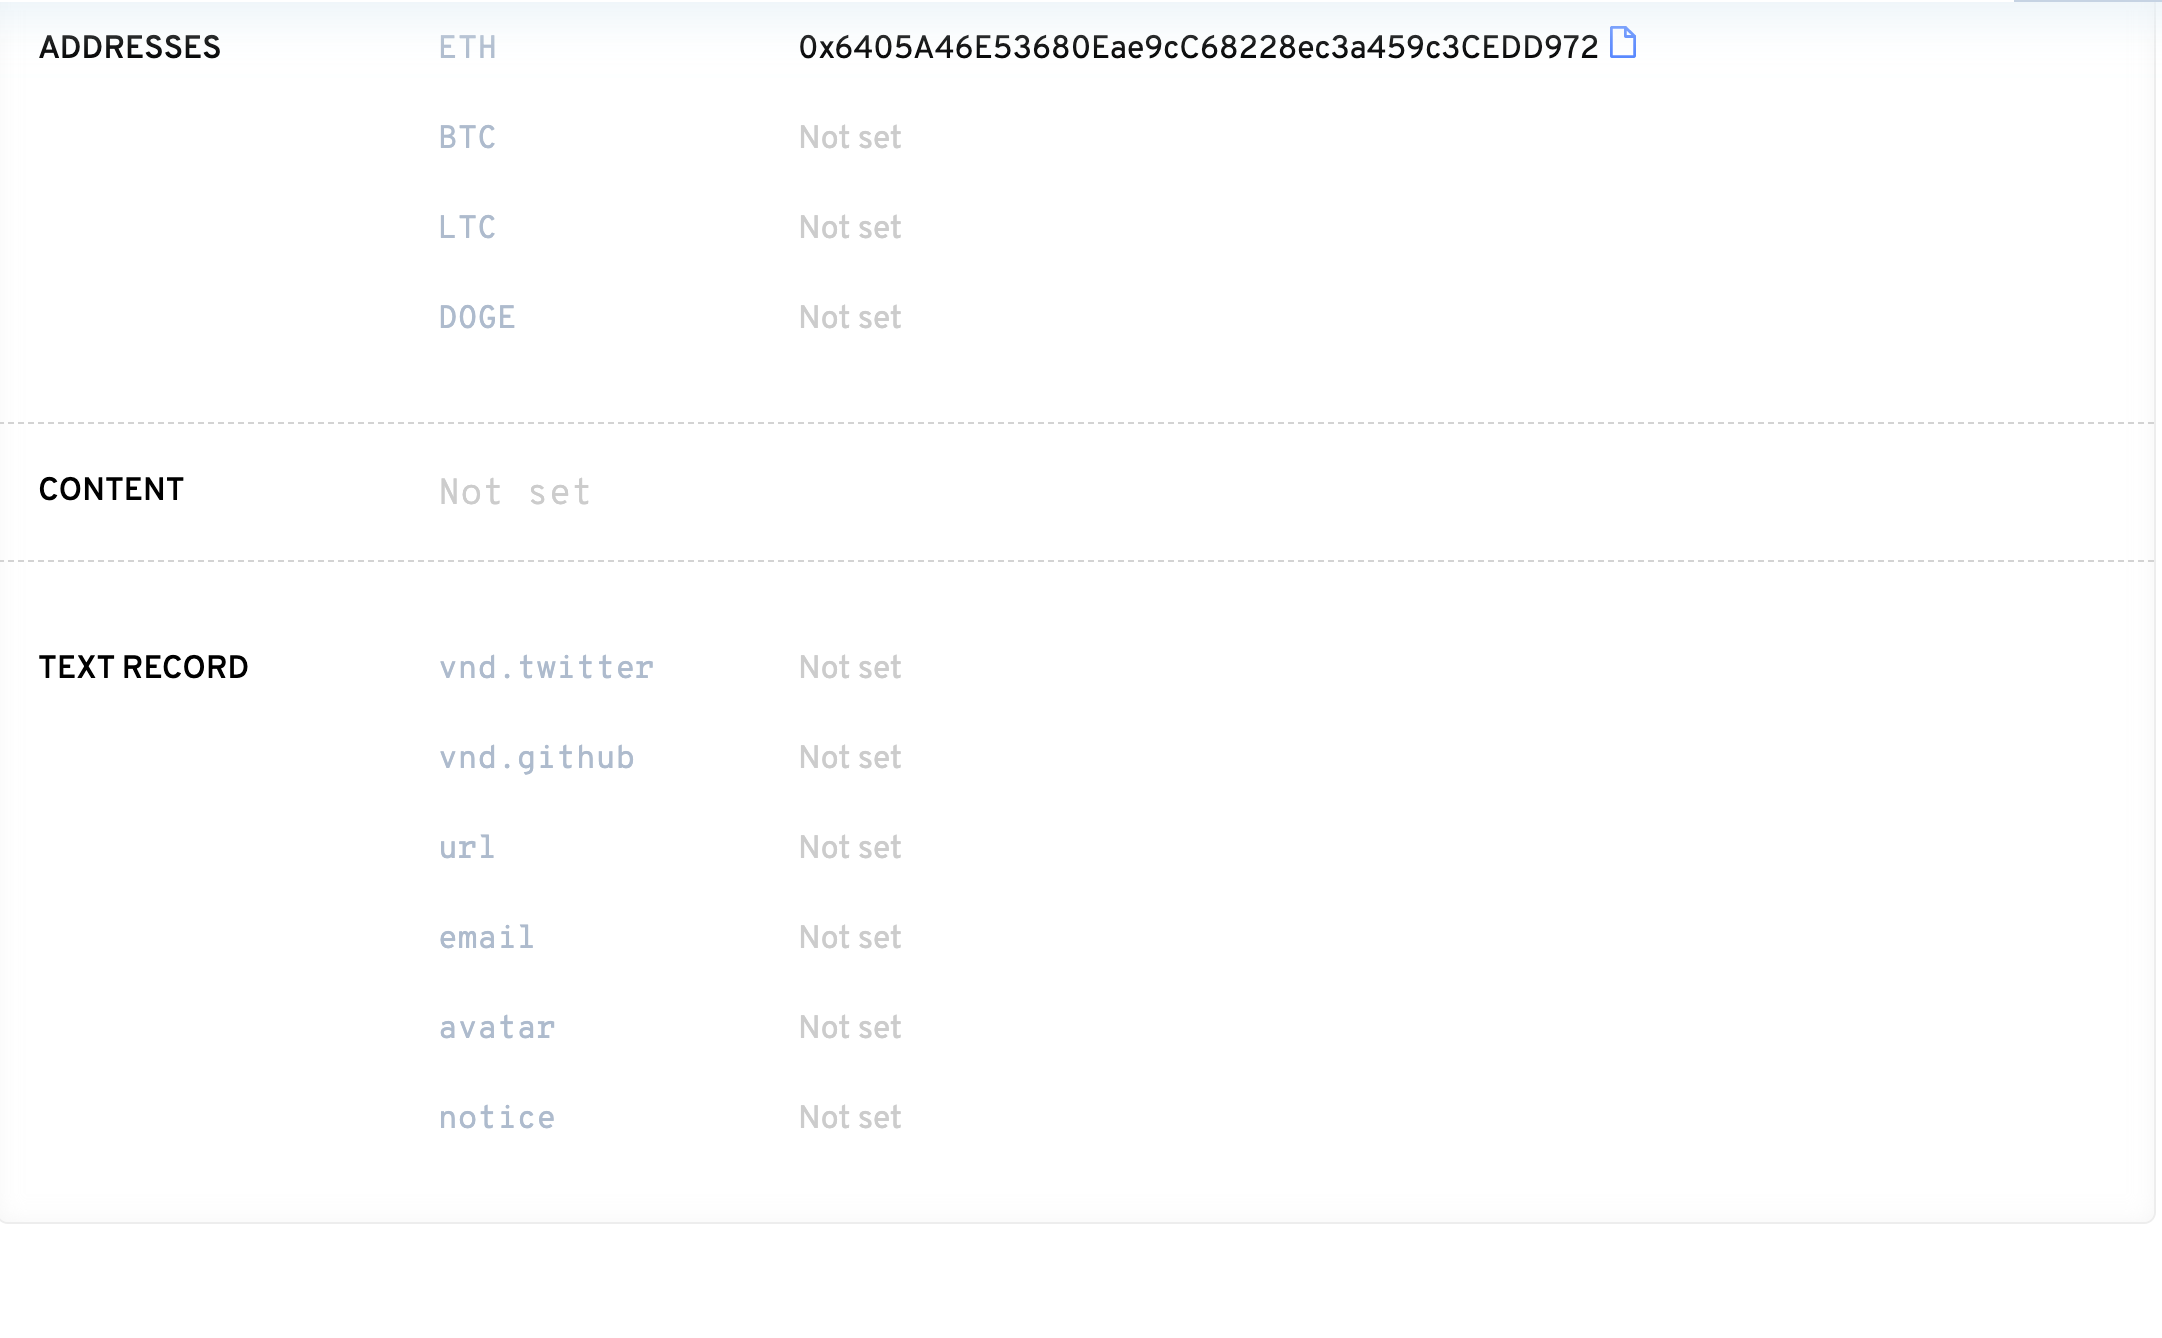
You’ll have to sign another transaction from your wallet to complete this process. Once it’s done, decentralized apps will be able to display your ENS name when you sign in with the address that it’s set to.
You can also update your record and set other cryptocurrency addresses to link to your ENS name. You can also set text records such as your Twitter profile or public website etc.